Bain Marie Tempering
Using a bain marie, also known as a double boiler, can be a quick way to temper almost any amount of chocolate.
Equipment
- Large saucepan/casserole pan
- Stainless steel bowl (slightly larger than the saucepan)
- Spatula
- Tea towel
- Thermometer
- Chocolate praline mould
- Ramekin
- Baking parchment
- Heat gun
- Sieve
Ingredients
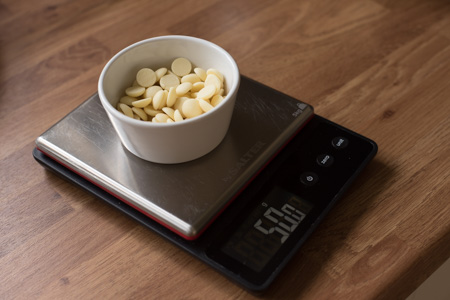
- White couverture chocolate callets250g
- Cocoa powder (optional)10g
We will be using a chocolate mould to make individual white chocolates. I will be dusting my mould with a little cocoa powder before I use it, so that it will appear on the surface of each. This is just my little experiment and you may not choose to do this.
-
Put a little water (approx. 2cm in the pan) into the pan and heat the water until steam rises. Turn off the heat. Tear off a couple of narrow strips of baking parchment to use as a test for tempering later.
Handy to have these done ahead of when you need them. Any steps like this you can do ahead of time are helpful and avoid panics later.

-
Set 50g of callets off to one side in the ramekin. You will use these later.
This is extra chocolate is known as the 'seed' chocolate. Most couverture chocolate comes in callet form and is pre-tempered. We will add it to the warm chocolate later to make it temper.
-
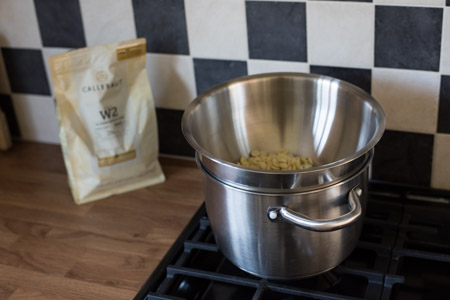
Put the remaining chocolate into the stainless steel bowl. Rest the bowl on top of the pan. Ensure that the bottom of the pan does not touch the water.
This is the Bain Marie (or double boiler). They are used in some other cooking situations, most often anywhere you need heat but at a more controlled level than you would normally be able to achieve with the direct heat from the stove.
-
Allow the chocolate to melt a little, and then start to stir it. You need to essentially stir and monitor the temperature continually from now on. Take the temperature often. You are looking to slowly reach 46C.
Do not let the chocolate go above 50C because there’s a danger you can burn it. White chocolate is particularly sensitive, so take care and err on the side of caution.

-
If you need a little more heat, just briefly turn on the heat very low to make the water hotter.
Don’t let the pan go dry. Take care not to overdo this because the temperature of the chocolate can go out of control very quickly.

-
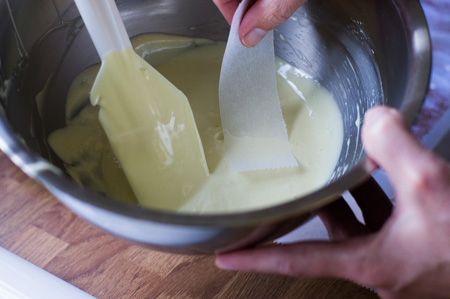
When you reach 46C or just over, remove the bowl from the pan.
I reached 47C here as you can see, but the chocolate I use will tolerate this. Chocolate behaves differently depending on the recipe. Some are more sensitive than others.
-
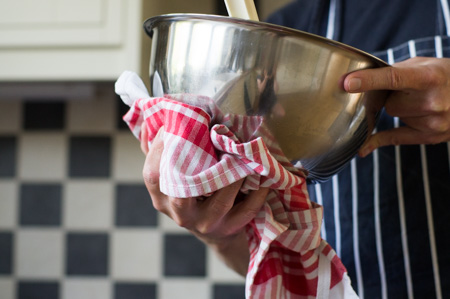
The bottom of the bowl will be wet. Very carefully dry it with the tea towel, taking great care not to get any water in the chocolate.
Doing this helps minimise the chance of getting and water into the chocolate. If this happens, even just a small drop, the chocolate will seize and will no longer be usable with the mould.
-
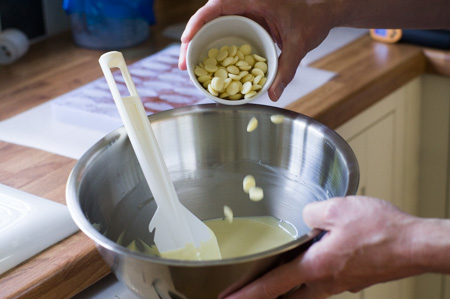
Give the chocolate a slow but thorough stir. Allow it to cool to approx. 40C. Stirring slowly can speed this up a little. Tip approx. ½ the callets from the ramekin into the bowl with the warm chocolate. This will seed the chocolate in the bowl and cool it.
Stir slowly and constantly. Try not to whip air into the chocolate.
-
Take the temperature of the chocolate when all the added callets are melted. It’s likely to be at approx. 35C. Add just a few more callets (approx. 10). Stir these in. Allow the callets 30 seconds or so to melt a little, then stir continuously. You need all these callets to now melt, and the temperature to be approx. 31C.
If you find that the callets all melt, and just a couple more if you’re still higher than 31C.
-
Once you’re at 31C (or below is fine), you are ready to test the temper. Allow one side of a baking parchment strip to rest briefly on the surface, then put this onto your work surface, chocolate side up, to allow the chocolate to set. If it starts to set after a few minutes, your temper has worked.
Stir the chocolate very slowly while you wait for the temper test to set.
-
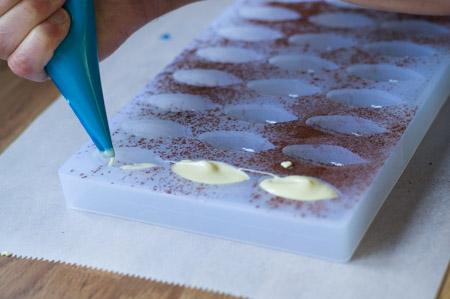
Your chocolate will now be at approx. 29C, which is ideal. Warm the mould a little with the heat gun (ideally to approx. 26C). Dust the mould with a little cocoa powder if you wish, for decoration. Pour the chocolate into your piping bag.
I wanted to see how well the cocoa powder shows on the surface of the chocolates.

-
Working quickly, pipe this into your mould. Take care not to overfill. Quickly return any remaining chocolate to the bowl. Tap the mould firmly on your work surface to remove any air bubbles from the chocolate.
It is important to work quickly as the chocolate will be setting when it enters the mould. The quicker you can get to the stage where you are tapping the mould, the better chance you will have of removing air bubbles.
-
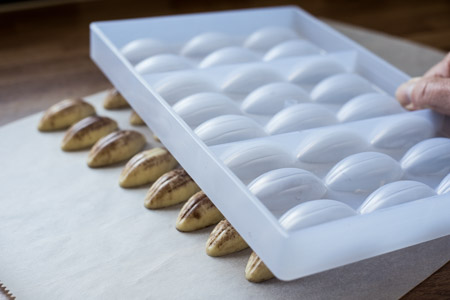
Allow to set at room temperature (should be about 20 minutes). Put the mould into the refrigerator for approx. 15 minutes. This will help the chocolate contract and release from the mould. Then remove from the refrigerator and allow to reach room temperature before de-moulding them.
Allowing them to reach room temp again like this reduce the chance of you getting condensation on the surface of the chocolates, which can happen if you de-mould cold chocolates in a warm room.
Although I prefer table tempering, I find this to be a very quick method. It is most important to avoid letting the temperature get out of control, so I would recommend a lot of monitoring. This is probably the most popular method amongst others, although microwave tempering is now becoming more popular.